Garage Organization at its finest!
No, we can’t park a car in our garage. We’ve managed to get some gym equipment in, but it’s the worst working out with stuff all over the place. So, I felt organizing the garage was an excellent excuse to build something! Enter the mobile vertical bike rack!
![]()
Cost to Build
Without counting tools, you can easily build this for under $200. I’d spent around $100 because I had a few pieces of wood and a few wheels. If pressed and building from scratch, I think I could build it for $85, but wheels, screws, and especially wood are expensive.
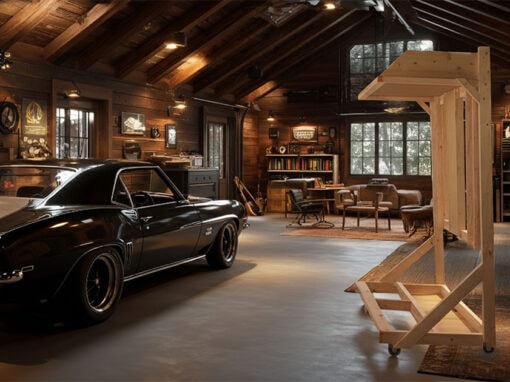
And, no the opening shot with the car is not my garage. It’s something I aspire to have though.
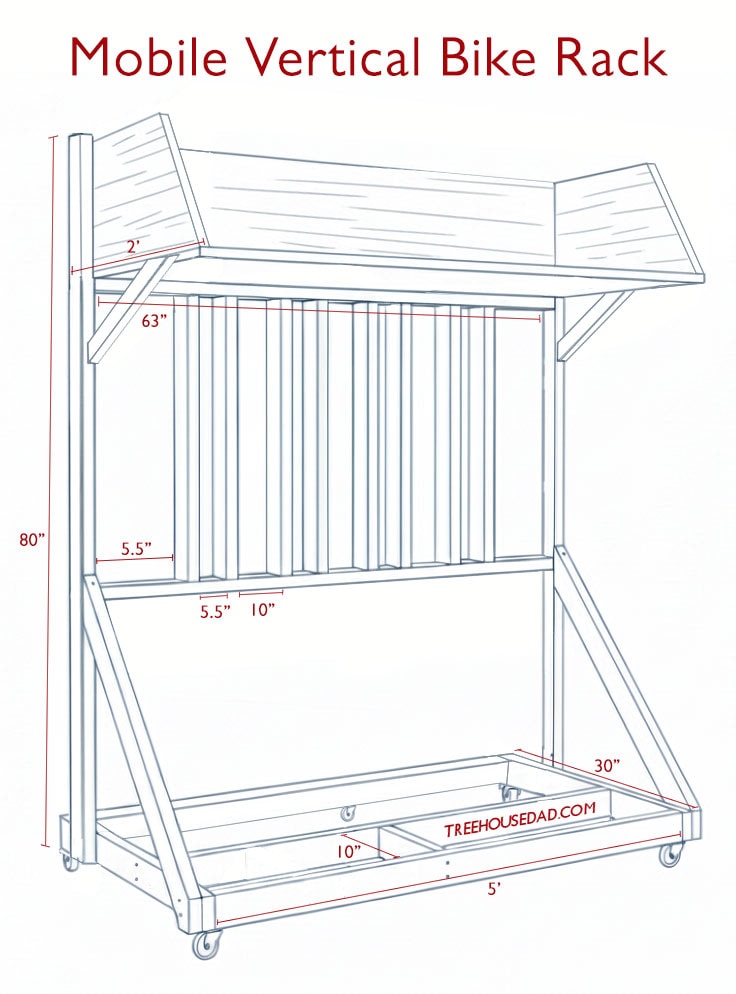
![]()
Blue Prints
Differences between mine and the bluerpints, and why some is vague. Points to think about – how tall (garade door, etc.. wheel base, size of bikes, width to fit (keep in mind back wheel pops out.) A curious note: I utilized ai to help me come up with ideas and refine the design. It took a lot of tries, and it never fully got it right, but it did get me 50% there! Then I used photoshop to fix it and make it what you see below.
![]()
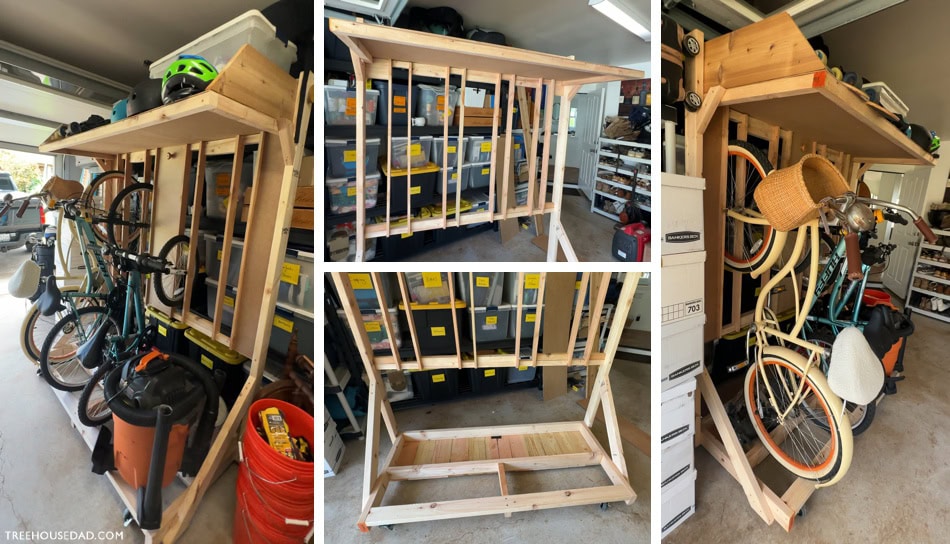
Step by Step
- Put bikes up against a wall and use 2 2x4s (or more) to keep the back wheels from falling. I used 4 2x4s, spaced them 10 inches apart, and put it up against the wall. This will help you measure both how wide you want your bike rack as well as how short and tall you need the opening to be for the front wheel. Definitely measure your longest/biggest bike as well as your smallest.
- Once you’re happy with the dimensions, build the bottom portion without wheels. Keep in mind that the front wheels will stick out a little further past the back of the bike stand, so it’s not a bad idea to have the back of the bottom portion go further than the vertical section. I found my back tires all fit well within 10 inches of space between the 2 beams. Do not add the wheels yet!
- When adding the 2 vertical beams, take into account the height of the wheels, and anything in your garage or space that will require it to be shorter. I was very careful to allow the garage door to open and close with out interference (but I only measured the open door on the track, not the garage opening. So, if I want to take the entire thing out of my garage, I have to take everything off and bend it sideways a bit…)
- Now on to a more delicate part: the front wheel holders. I measured everything with some pretty thin pieces in between, but I was worried about them taking so much bike weight. So I added some supports along the 2 middle horizontal beams. If I had used 2x4s, it would have been way easier. Keep in mind the measurements above are for my thin pieces of wood, not 2x4s. Regardless of the measurements, I found all my bikes fit well with 5.5 inches for each wheel. Make sure whatever measurement you choose for the tallest and shortest bikes fit in the frames. And then add a few inches. Rolling the bikes over the front beam to place them requires a little more height.
- Measure with bikes again! I found laying it flat on the ground, then placing the front wheel structure loosely where it should be was perfect for putting bikes in and kind of hovering them over it to know if they’ll fit. Then secure it to the 2 beams.
- I then built the top shelf and put the wheels on. Make sure the 2 front wheels have a locking mechanism. You don’t want the whole structure rolling around has you try to fit bikes into it. Danger.
- Add some bungy cords or something to help lock your top wheels in place. Depending on how narrow and how vertical your bikes are standing, you don’t want them to fall over easily. Also, if it’s not going anywhere often, I suggest securing it to a wall. Something you can take on and off when you need to move it.
![]()
A few changes I made that aren’t in the schematic above:
- The vertical beams are flush with the back of my bottom wheeled area. Just not enough lumber in the garage.
- I pushed the forward horizontal beam flat instead of up and down cause I had different sized tires. The back ones were small (and free cause I had them), and the 2 front ones were tall.
- I built a shelf space in the back of the bottom portion in order to both store more items as well as make the entire thing bottom heavy. Harder to push around with the 200+ LBS I’ve added, but it’s not toppling.
- I added some cheap flat wood in between the top wheel areas. I figure if I want to hang some items from hooks, those empty spots will work well.
- I didn’t use enough wood for the support beams for the top shelf. Again, I was being stingy with wood. I should have, and probably will, add longer supports. But, at this point, there’s not much up there, so it can handle the weight.
![]()
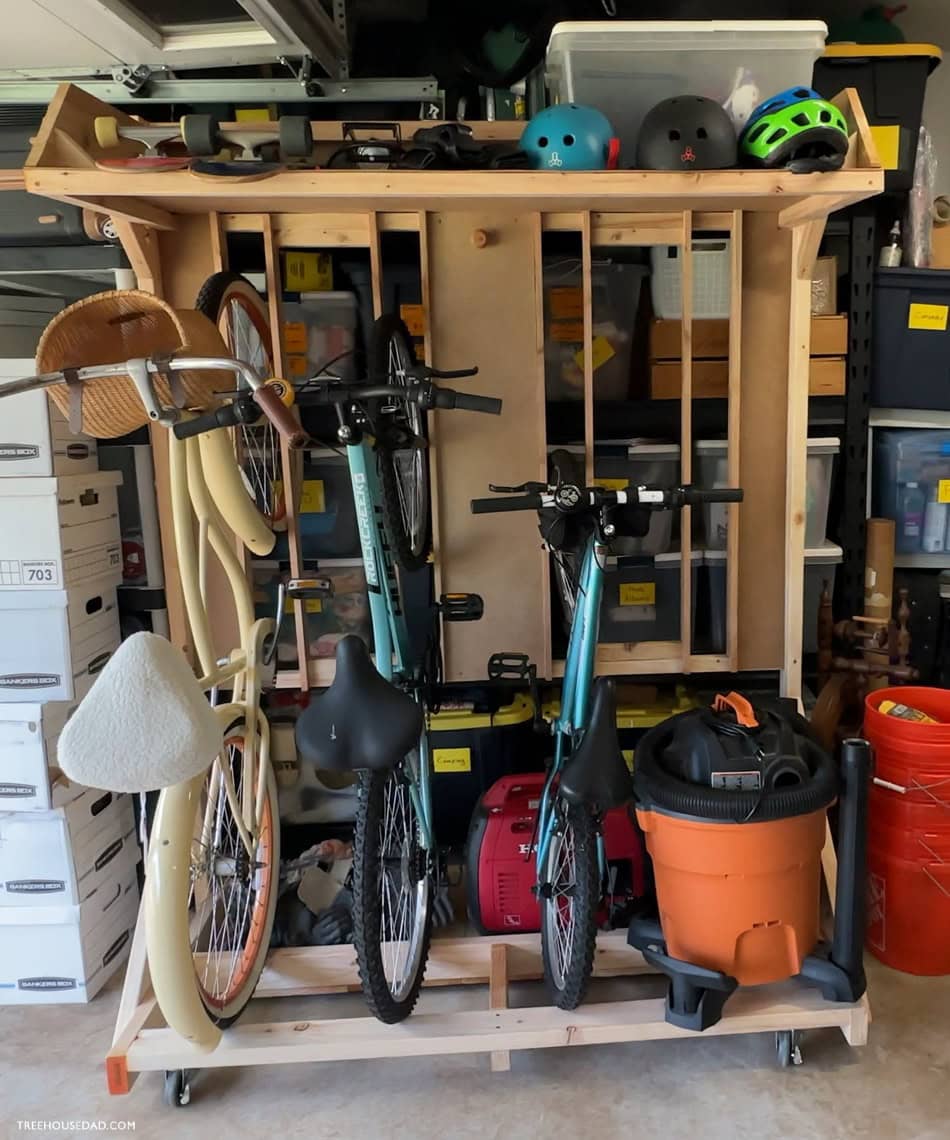
The Result
This is a game changer! I can stack wall to ceiling storage and have this sit directly in front of it! It’s easy to get to everything we need. I’m considering doing this with storage as well. Why not have racks that can move around the garage when needed? Place the storage items further back when you only need them once a year (holidays, etc…) OK, Let’s start hoarding!


0 Comments