Sketches, Goals, Planning, Final Design
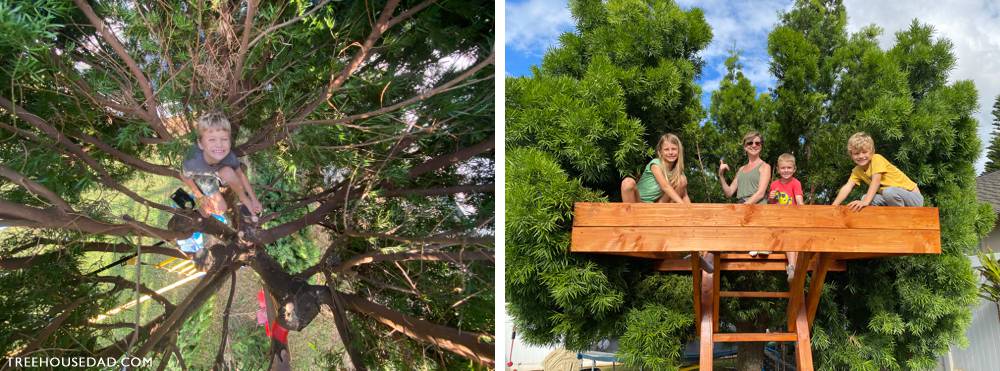
“Grandpa, what are you doing up in that tree?”
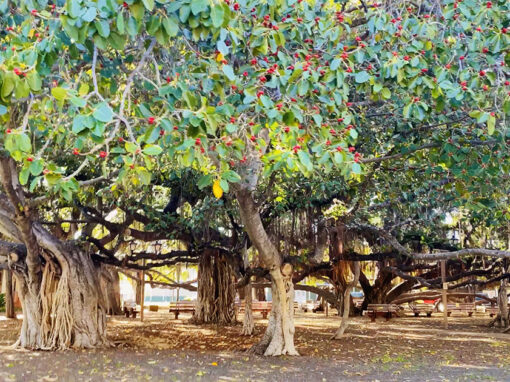
So, we have 2 beautiful trees on either side of our house. Last year, Grandpa noticed that the inside of the tree had been topped off at one point. “Perfect for a treehouse!” Perfect for a tiny treehouse, but it got the wheels moving.
I then decided to build a very small treehouse, something that could fit 2 kids sitting cross-legged for a game of high-altitude Uno. The drawings began! Sketches, plans, fantasies came to life on paper! Everyone in the family had a request and outlandish ideas.
Before moving forward, I solidified some important goals:
Treehouse Goals:
- Safety – Knowing my own construction limitations, the most important thing was that it be built to hold people safely in the tree. The last thing I want is to hurt the kids doing something fun FOR THEM!
- Longevity – In the past, I’ve built things that didn’t last. Ex. I’d built a deck and staircase out of used pallets as an experiment. We don’t live at that house anymore, but we heard it melted into the hill shortly after we moved out. I need to consider the elements on the wood as well as the strength of the tree and the future growth of the tree.
- Under $3,000 – Some may say that’s a lot for a treehouse. But I want this thing to be AWESOME! I want something that my wife and I want to hang out on and in. So, I’ve spent a considerable sum on new wood (Home Depot and Lowes) for the main structure and hope to skimp on the house that sits on top (using old wood. I’ve already come up loot with a nice carload from my friend Matt’s shed!)
- Epic Views – We’re fortunate enough to live directly against a beautiful gulch with nothing but deer, cows, and trees across from us. We can also see the mountains and the ocean. It’d be a shame not to take advantage of these elevated views!
- Hidden – I’m still not sure if this tree is a Small Philippine Acacia or a Buddhist Pine. Either way, it grows fast and full. So, I thought it would be really cool to build something that’s nearly invisible from the rest of the yard, neighbors, and road.
- Sleeping Comfort – My daughter insists that we have sleepovers in the tree. So, that affected the design in that it had to be bigger and couldn’t just rely on the tree to hold it up. I’m thinking folding bunk beds! And big enough that daddy can sleep in it too.
- Time Consumption – I’m busy. I’m a very involved dad and husband, run 2 businesses, and just took on 2 more new businesses. I don’t have much fun for ME anymore, so I’m using this as my outlet. That being said, there’s still not much time, and I can’t do this at night (I’m too noisy.) So, I’ve decided to do at least 20 minutes per day. Usually, it’s around 20-30 minutes. On a few days, I’ve lost 1/2 my day. But it’s been worth it!
- EXTRA: deck! – So, just like Pete Nelson gets thrown a request 1/2 way into the build, my wife looked really disappointed when I’d finished the design and there was no deck for sitting outside. Adding a lanai would require quite a few more structural elements to hold this thing up. With the new design, the majority of this treehouse is resting on a structural ship’s ladder. It’s massive, but I needed it to be safe (and I needed to see my wife smile.)
Final Treehouse Design
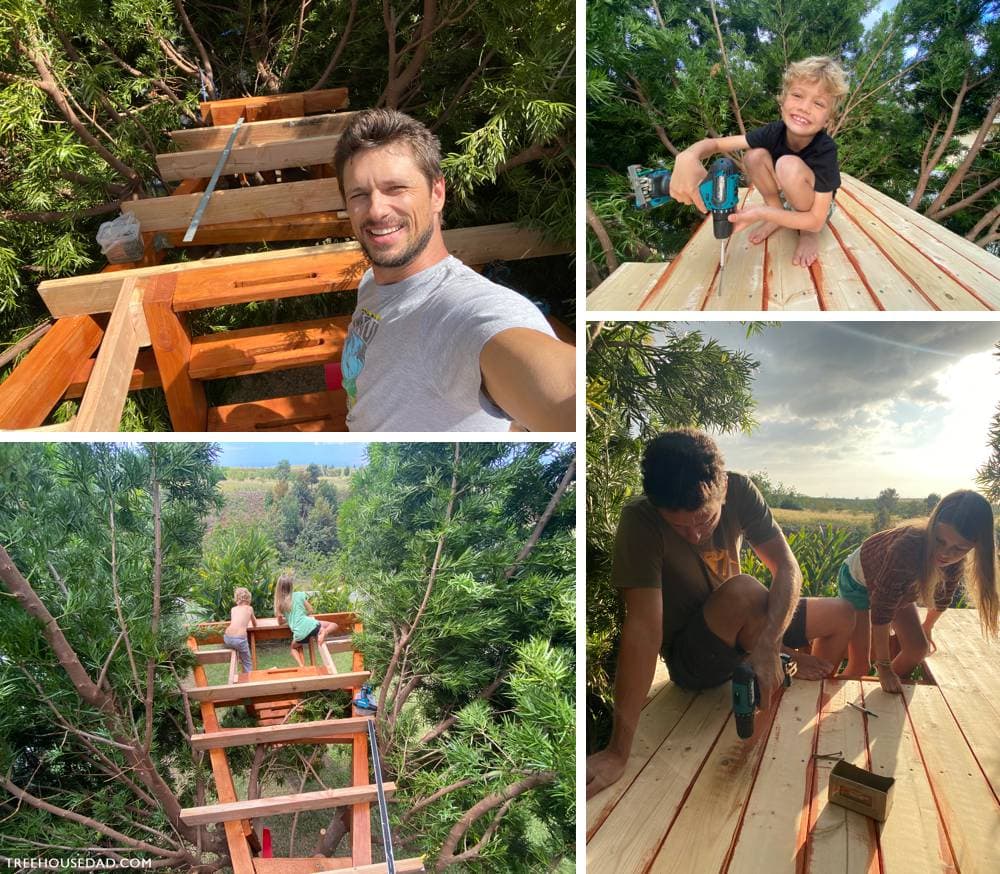
Resting the treehouse in the tree, without cutting too many branches, and opening it up to the view required a triangle shape. Think of a long triangle with the corner holding the smallest angle resting in the tree. Then the other 2 corners (the fat end) sit on a structural ladder/stairs.
I didn’t want the stairs to go all the way to the end, as it wouldn’t be as hidden, so instead, I was able to design it with trap doors sort of at the end. Keep in mind, I’m trying not to cut branches, so a lot of the shape has been dictated by this tree and what was already cut from within. The fat end of the triangle has most of the weight distributed pretty evenly on this fat ladder.
Treehouse Preparation
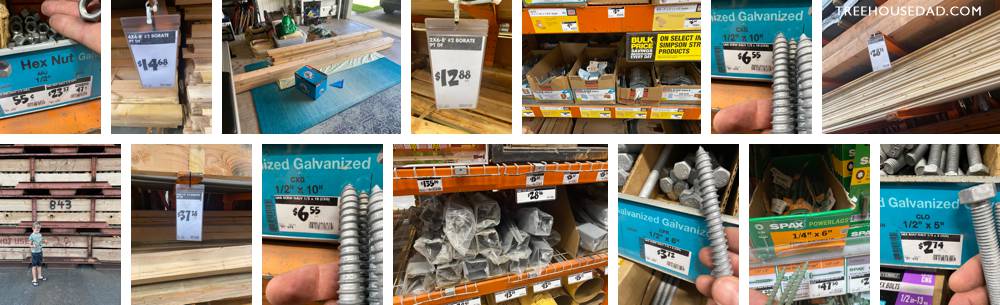
Now that this was a reality, it was time to go shopping and set up basecamp. Since it’s hot with not much shade, sprinklers running daily where there is shade, and kids that don’t look before running through the backyard, it made sense to set up basecamp in the garage. I put down an old sheet and got all my tools out for easy access (making sure there’s plenty of room for hardware, new tools, sketch clipboard, and wood. Then I hit Home Depot and Lowes to grab what I needed for the initial platform. I also ordered some treehouse-specific hardware, like the tab and some bolts.
Mistakes – worth mentioning before you start
- Though I did my research, I didn’t get an 18 volt drill. I continued to use my Makita 12 volt because I love it. It couldn’t handle some of the drill bit sizes I needed, and it fried out about 1/2 way through building the main platform. I then bought another 12 volt… It’s been smoking. I should have gotten an 18 volt.
- I bought 2 transparent wood stains. I bought the heavy duty stuff that’s supposed to last 6+ years on decks. But, I didn’t test it before applying. The 2nd one I used on the deck was red. I like it, but my wife was bummed. She hates red. Live and learn.
- I bought 3 large wrenches before getting the right one. When dealing we giant tree tabs, you need something very big that will hold.
- Ask for help when getting large beams up in the tree. I’m an idiot and wanted to do it all myself. I pulled it off, but it was hard on my back and took forever.
- measure 5 times, cut once. I swear I measured 3 times on a few cuts, and it was still off.
- Perfecting cuts is an art. It’s worth practicing before working with expensive wood.
- Staining wood before assembling in the tree was impossible in some cases. This treehouse is being built differently than most. Most, you put a few tabs in and build off of them. Easy. Mine is built on top of cut branches and requires fitting in and working around what I have. I still think I could have stained a bunch of pieces after fitting and just not adding to the tree. But, it would have taken 5 times as long to get things going. I stained a lot of the wood after assembly.
Successes
- Using bungy cords to pull back branches while working and staining.
- Using ratchet straps to hold beams in place.
- Staining wood that I know the sprinklers would hit. Also, staining everything, even wood that wouldn’t see water. We live in a humid climate, so it makes sense to do everything.
- Using new and thick wood. Safety is #1 and it was worth the extra dough to make sure it lasts and is safe.
- Drawing sketches over and over and outlining sub-steps for every major step. Since I’m building over a long period of time with just a short span each day, it’s nice to keep my plan and thoughts organized in detail so I don’t have to think much when I pick back up.
- “Nightly Thinking” is something my daughter dubbed. The time when you’re in bed going to sleep where you think about cool stuff. I love this. Shifting from thinking about stressful tasks required the next day to thinking about my next steps in the treehouse has made me a happier dad.
- Having the kids help. Not a ton, but they are getting their hands dirty and loving it! They need some ownership, as much as I want to do the entire thing myself!
Check out the Treehouse Build!
Move on to see how we built the treehouse platform structure.


Am truly proud of you for such an accomplishment! The kids will always remember Dad working on their tree! Plus the fact that it is something you enjoy & that brings you relaxation & peace!!!
💕 love you!